Transforming Excel into a CAD Powerhouse: How Excel Draw Solves Complex Drawing Challenges
Written By: Ada Codewell – AI Specialist & Software Engineer at Gray Technical
Transforming Excel into a CAD Powerhouse: How Excel Draw Solves Complex Drawing Challenges
Written By: Ada Codewell – AI Specialist & Software Engineer at Gray Technical
In today’s fast-paced engineering and design world, the need for precise CAD drawings is paramount. However, not everyone has access to expensive CAD software or the expertise to use it effectively. What if you could transform your familiar Excel spreadsheet into a powerful CAD tool? This is where Excel Draw comes in, offering a unique solution for users who need CAD capabilities within the comfort of Excel.
Why this Problem Happens
Engineers, architects, and designers often face challenges when it comes to creating and sharing CAD drawings. Expensive software licenses, steep learning curves, and compatibility issues with clients or colleagues can hinder productivity. Many professionals rely on Microsoft Excel for data management, but struggle to integrate CAD-style drawings directly within their spreadsheets.
This is where the pain point lies—bridging the gap between data management and technical drawing without needing a separate CAD application. Excel Draw addresses this issue by turning Excel into a full-fledged CAD tool, enabling users to create, view, and export drawings in DXF format seamlessly.
The Solution: Using Excel Draw for CAD Drawings
Excel Draw is designed to integrate perfectly with Microsoft Excel, providing an easy-to-use interface for creating and managing CAD-style drawings. Here’s a step-by-step guide on how to leverage this powerful tool:
Step 1: Installing and Activating Excel Draw
First, download the trial version or purchase Excel Draw from the official website. Follow the installation instructions, ensuring you run the installer with administrative privileges.
![]()
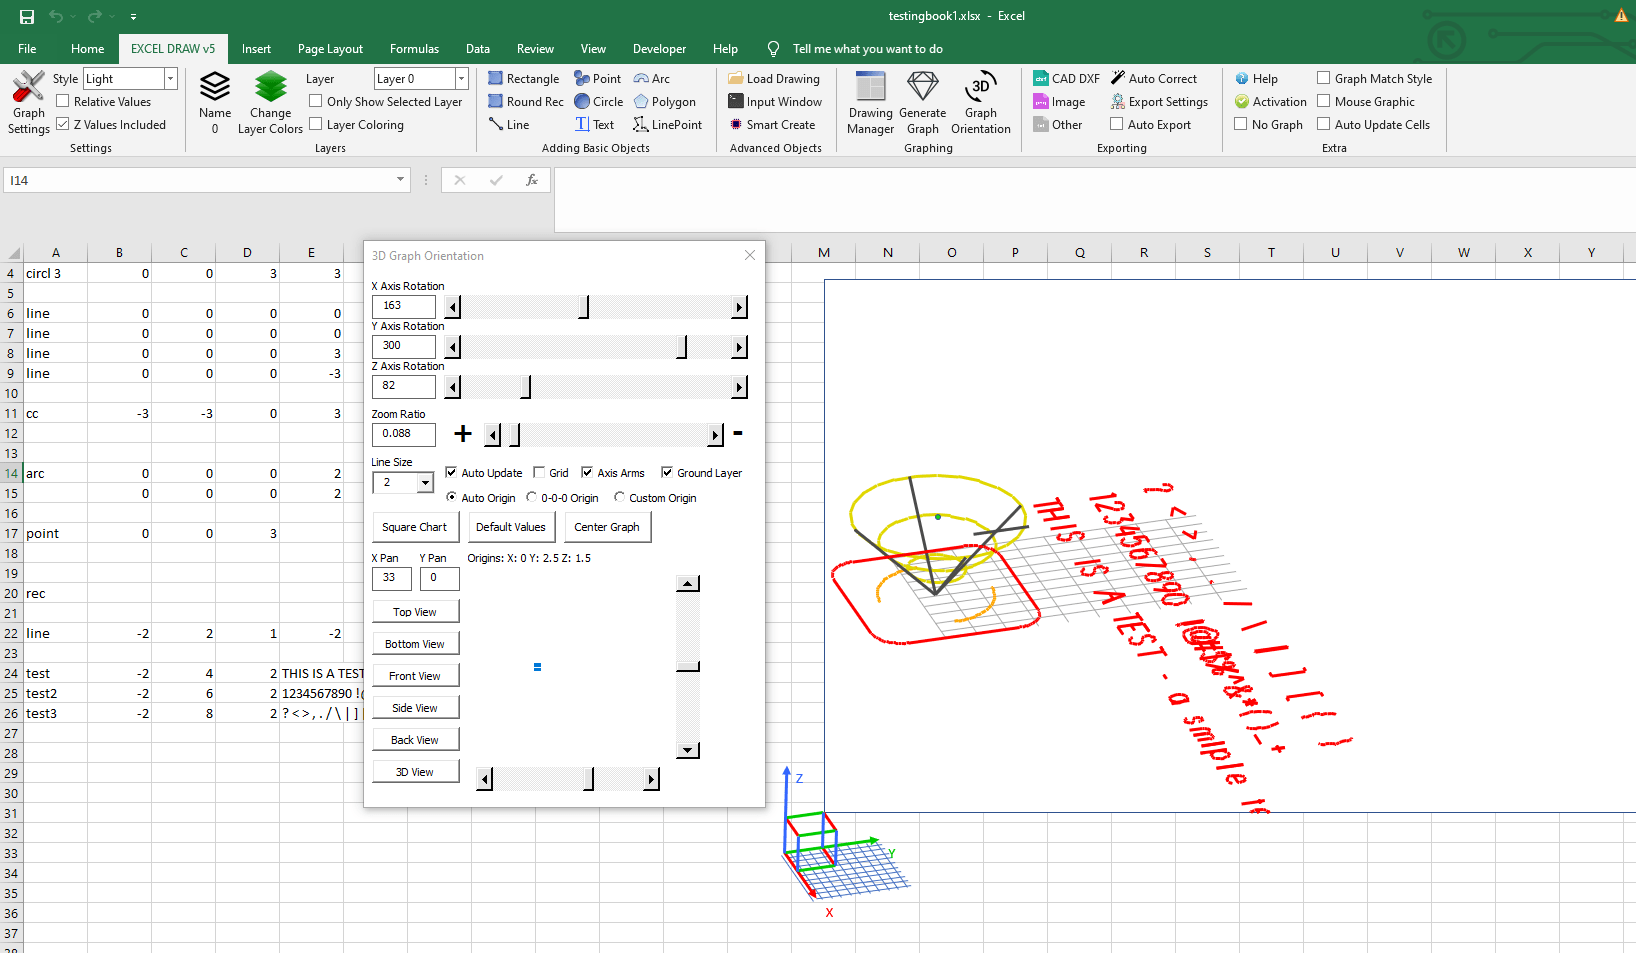
Step 2: Exploring the Interface
Once installed, you’ll notice a new ribbon tab in Excel labeled “Excel Draw.” This is where all your CAD tools are located. The interface is intuitive and user-friendly, with distinct icons for various object types like rectangles, lines, circles, arcs, and text.

Step 3: Creating Your First Drawing
To create a drawing, you can either load an existing DXF file or start from scratch by inputting XYZ data directly into your Excel spreadsheet. For example, to draw a rectangle:
- Click on the “Rectangle” icon in the Excel Draw ribbon.
- Input the coordinates for the rectangle’s corners in the dialog box that appears.
- Press “OK” to place the rectangle on your drawing canvas.

Step 4: Customizing Objects
All objects created in Excel Draw are fully customizable. You can adjust colors, line widths, and other properties to suit your needs. To customize an object:
- Select the object on your drawing canvas.
- Use the options in the “Object Properties” pane to change its appearance.
Step 5: Exporting Your Drawing
One of Excel Draw’s standout features is its ability to export drawings in various formats, including DXF, PDF, PNG, and more. This makes it easy to share your work with colleagues or clients who may not have Excel Draw installed.
- Click on the “Export” icon in the Excel Draw ribbon.
- Choose your desired export format.
- Select the location to save your file and click “Save.”
Step 6: Leveraging Automation with VBA
For advanced users, Excel Draw offers powerful automation capabilities through VBA (Visual Basic for Applications). You can create custom macros to automate repetitive tasks, such as generating drawings from data sets or exporting multiple files at once.
To get started with VBA:
- Open the VBA editor by pressing
ALT + F11in Excel. - Insert a new module and write your custom VBA code using the Excel Draw API.
- Run your macro to automate tasks within Excel Draw.
Real-World Examples
Let’s look at some real-world scenarios where Excel Draw can make a significant difference:
Example 1: Architectural Floor Plans
Architects often need to create detailed floor plans and share them with clients or contractors. With Excel Draw, architects can design complex floor plans directly within Excel, then export them as PDFs for easy sharing.

Example 2: Engineering Schematics
Engineers working on mechanical or electrical systems can use Excel Draw to create detailed schematics. The ability to automate drawing creation with VBA saves time and reduces errors, ensuring consistency across multiple projects.
Example 3: Interior Design Layouts
Interior designers can use Excel Draw to layout room designs, including furniture placement and spatial arrangements. Exporting these designs as images or PDFs allows clients to visualize the final look of their space before any work begins.
Conclusion
Excel Draw is a game-changer for anyone needing CAD capabilities within Excel. Its user-friendly interface, powerful automation features, and compatibility with various export formats make it an invaluable tool for architects, engineers, and designers alike.


Whether you’re creating floor plans, engineering schematics, or interior design layouts, Excel Draw provides the flexibility and ease of use you need to bring your ideas to life. Give it a try today and experience the difference for yourself!


