
Transforming Excel into a Powerful CAD Tool
Written By: Ada Codewell – AI Specialist & Software Engineer at Gray Technical
Transforming Excel into a Powerful CAD Tool
If you’ve ever needed to create or view CAD drawings but didn’t want to deal with the complexities of AutoCAD, you’re not alone. Many professionals find themselves in this situation. The good news is that there’s a solution: Excel Draw. This powerful add-in for Microsoft Excel allows you to create, view, and export CAD-style DXF drawing files directly within Excel.

Why This Problem Happens
Traditional CAD software can be expensive, complex, and requires specialized knowledge. Many users find themselves struggling with these tools, especially when they need to share drawings with colleagues who don’t have access to the same software. This is where Excel Draw comes in. It integrates seamlessly with Excel, a tool that most professionals are already familiar with.

Step-by-Step Solution
Let’s walk through how you can use Excel Draw to create and manage CAD drawings within Excel.
Installing Excel Draw
First, you need to install the Excel Draw add-in. This process is straightforward:
- Download the installer from the Excel Draw website.
- Run the installer and follow the on-screen instructions.
- Once installed, open Excel and you should see the Excel Draw tab in the ribbon.
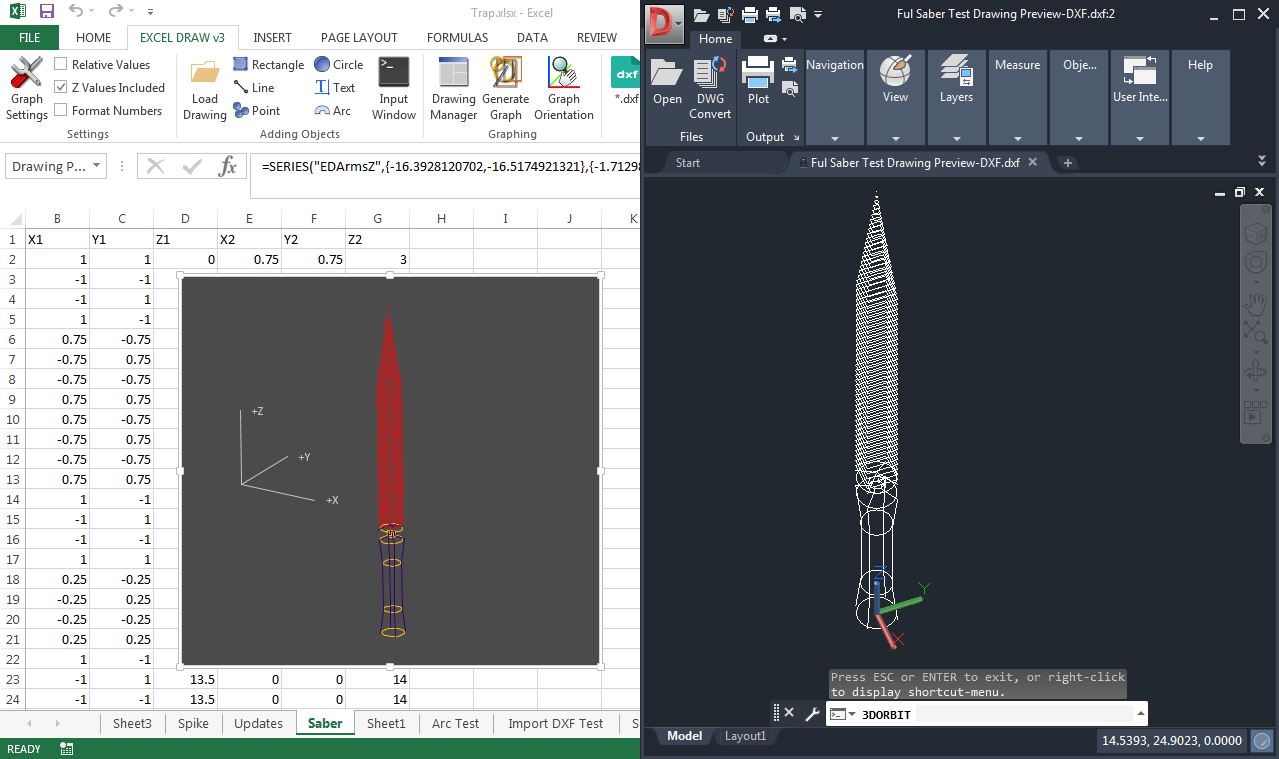
Creating a New Drawing
To create a new drawing:
- Click on the “New” button in the Excel Draw tab.
- Choose the type of object you want to add (e.g., lines, circles, rectangles).
- Enter the coordinates for your objects. Excel Draw supports both absolute and relative coordinates.
- Customize your objects with different colors, line widths, and other properties.
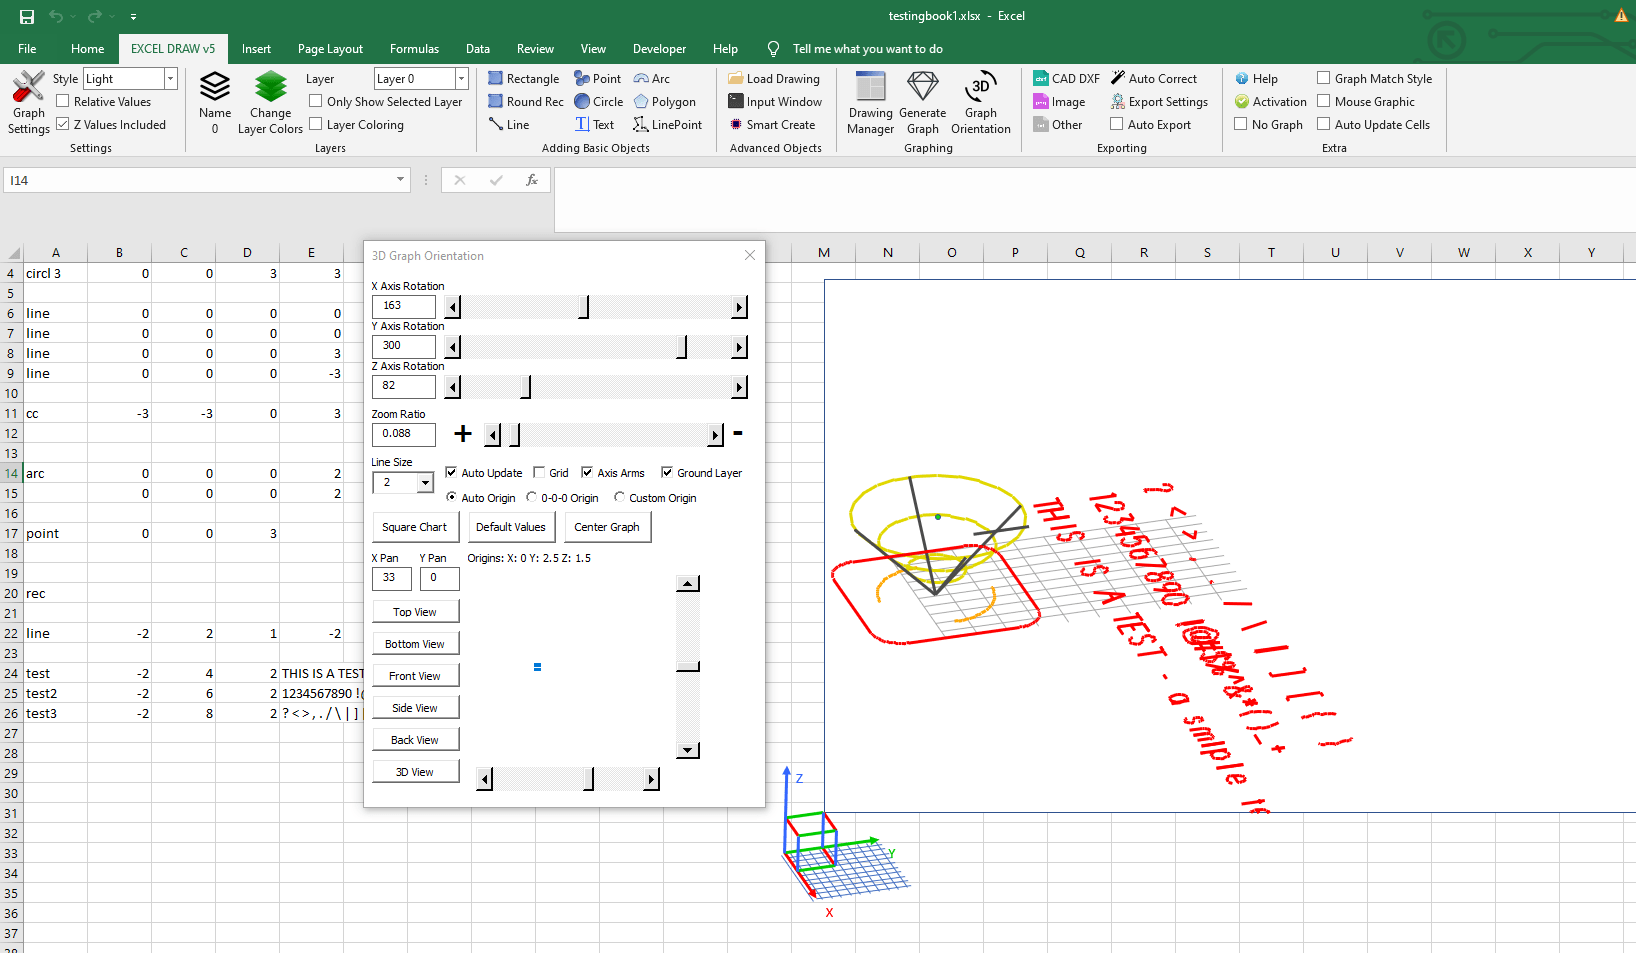
Loading Existing DXF Files
If you have existing DXF files that you want to work with, Excel Draw makes it easy:
- Click on the “Open” button in the Excel Draw tab.
- Select the DXF file you want to open.
- The file will be loaded into Excel, and you can view and edit it just like any other drawing.

Exporting Your Drawing
Once you’ve created or edited your drawing, you can export it in various formats:
- Click on the “Export” button in the Excel Draw tab.
- Choose the format you want to export to (e.g., DXF, PDF, PNG).
- The exported file will be saved to your computer and can be shared with others.
Advanced Features
Excel Draw also offers advanced features like:
- 3D graphing and visualization.
- VBA automation for custom workflows.
- Integration with DXF Reader GT for enhanced DXF file handling.
Conclusion
Excel Draw is a game-changer for anyone who needs to work with CAD drawings but doesn’t want the hassle of traditional CAD software. By integrating directly with Excel, it provides a familiar and powerful environment for creating, viewing, and sharing CAD drawings. Whether you’re a professional engineer, architect, or hobbyist, Excel Draw can help you streamline your workflow and improve collaboration.
Written By: Ada Codewell – AI Specialist & Software Engineer



















