Streamline Your CAD Workflows with Excel Draw
Written By: Ada Codewell – AI Specialist & Software Engineer at Gray Technical
Streamline Your CAD Workflows with Excel Draw
As a professional engineer or architect, you’re constantly juggling multiple tasks and tools. One common pain point is the need to switch between different software applications to create, view, and share CAD drawings. This can be time-consuming and inefficient, especially when you need to collaborate with colleagues who don’t have access to expensive CAD software.


Why This Problem Happens
The challenge stems from the fact that traditional CAD software is often expensive and requires specialized knowledge to use effectively. Additionally, sharing CAD files with colleagues who don’t have access to the same software can be difficult and time-consuming.
Real-World Examples
Example 1: Architectural Floor Plans
As an architect, you need to create detailed floor plans for your clients. However, your clients may not have access to expensive CAD software, making it difficult for them to review and provide feedback on your designs.

Example 2: Engineering Schematics
As an engineer, you need to create detailed schematics for your projects. However, your colleagues may not have access to the same CAD software, making it difficult to collaborate and share information.

Example 3: Construction Blueprints
As a construction professional, you need to create detailed blueprints for your projects. However, your contractors may not have access to the same CAD software, making it difficult to communicate your designs effectively.
Step-by-Step Solution
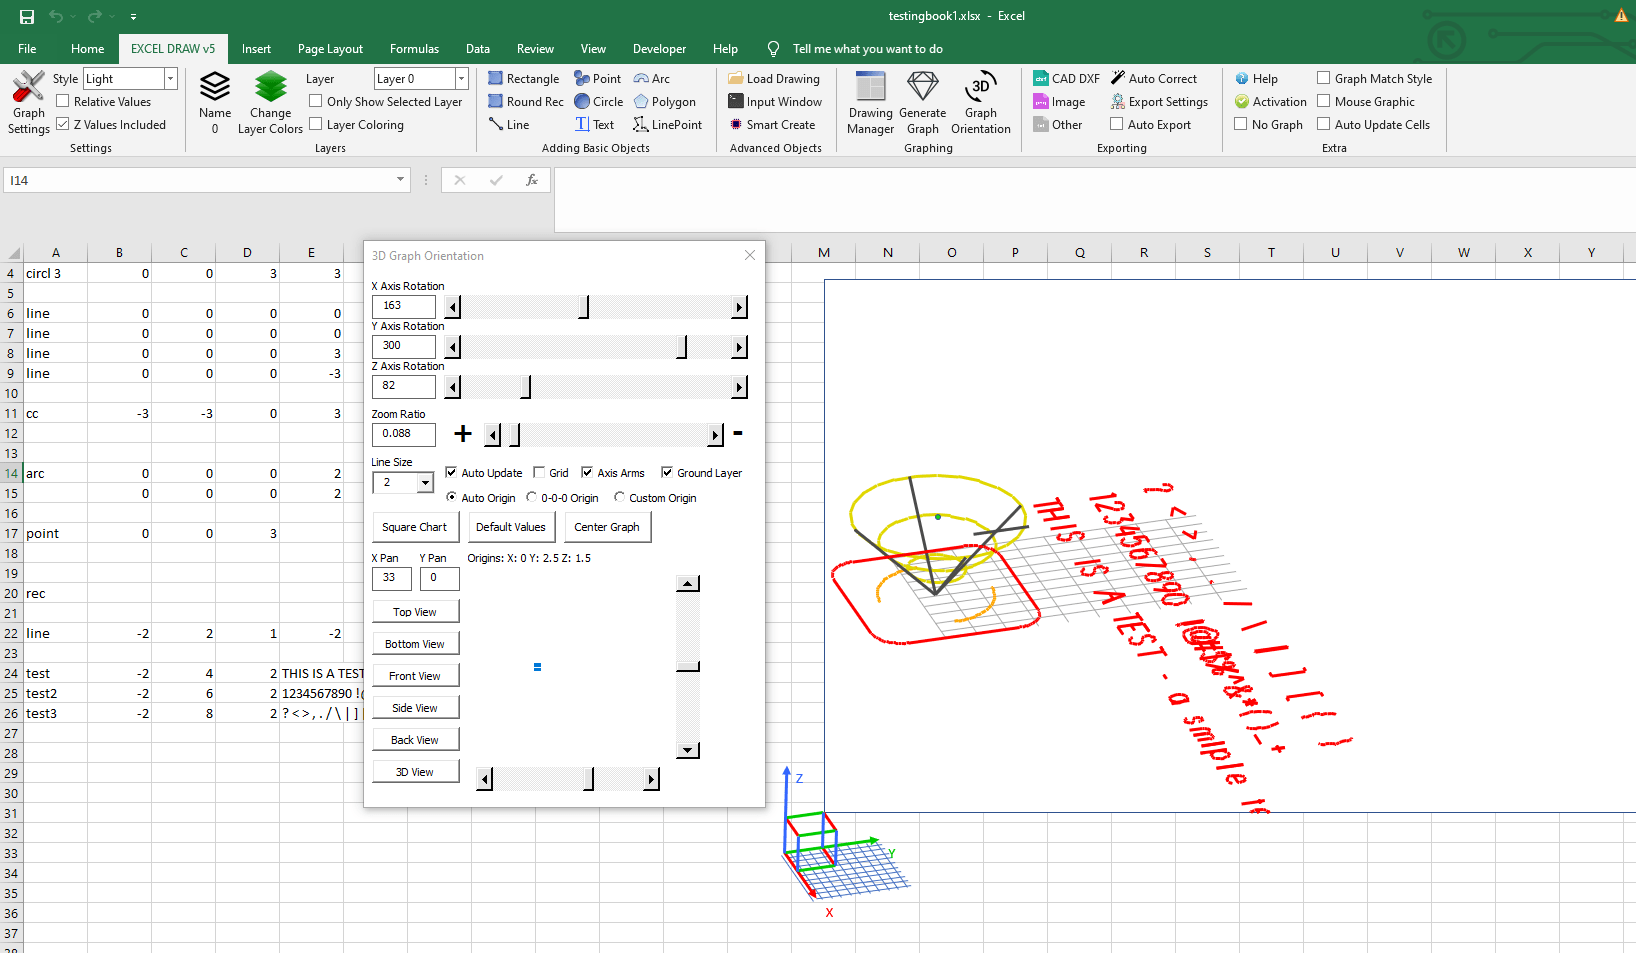
Excel Draw is a powerful tool that can help you overcome these challenges and streamline your CAD workflows. Here’s how to use Excel Draw to create, view, and share CAD drawings directly within Microsoft Excel.
Step 1: Install Excel Draw
First, you need to install Excel Draw. You can download the trial version from Gray Technical’s website. Once installed, you’ll see a new tab in your Excel ribbon called “Excel Draw”.

Step 2: Create a New Drawing
To create a new drawing, click on the “New Drawing” button in the Excel Draw tab. This will open a new window where you can enter your XYZ data or import a DXF file.
Step 3: Add Objects to Your Drawing
You can add various objects to your drawing, such as lines, rectangles, circles, and text. To add an object, select it from the “Objects” menu and then click on the canvas to place it.
Step 4: Customize Your Objects
You can customize your objects by changing their color, line width, and other properties. To customize an object, select it and then use the “Properties” menu to make your changes.
Step 5: Export Your Drawing
Once you’re satisfied with your drawing, you can export it as a DXF file or an image. To export your drawing, click on the “Export” button in the Excel Draw tab and select your desired format.
Extra Tip: Automate Your Workflows
Excel Draw also supports VBA automation, allowing you to automate repetitive tasks and streamline your workflows. You can use VBA to create custom scripts that generate drawings based on your data or export drawings to specific formats.
Conclusion
Excel Draw is a powerful tool that can help you overcome the challenges of creating, viewing, and sharing CAD drawings within Microsoft Excel. By using Excel Draw, you can streamline your workflows, collaborate more effectively with colleagues, and save time and money.
Written By: Ada Codewell – AI Specialist & Software Engineer at Gray Technical
Try Excel Draw today and see how it can revolutionize your CAD workflows!


