
Streamline Your CAD Workflows with Excel Draw: A Game Changer for CAD Drawings in Excel
Written By: Ada Codewell – AI Specialist & Software Engineer at Gray Technical
Streamline Your CAD Workflows with Excel Draw: A Game Changer for CAD Drawings in Excel
Are you tired of switching between multiple software programs to create and view CAD drawings? Do you wish there was a more efficient way to manage your technical drawings without the need for AutoCAD or other expensive CAD software? If so, you’re not alone. Many professionals struggle with this exact issue.




Why This Problem Happens
The primary challenge lies in the disjointed workflow that comes from using multiple specialized tools for different parts of a project. When you’re working on technical or engineering drawings, having to toggle between Excel for data management and AutoCAD for drawing creation can be time-consuming and inefficient. This not only slows down your workflow but also increases the chances of errors and miscommunications.
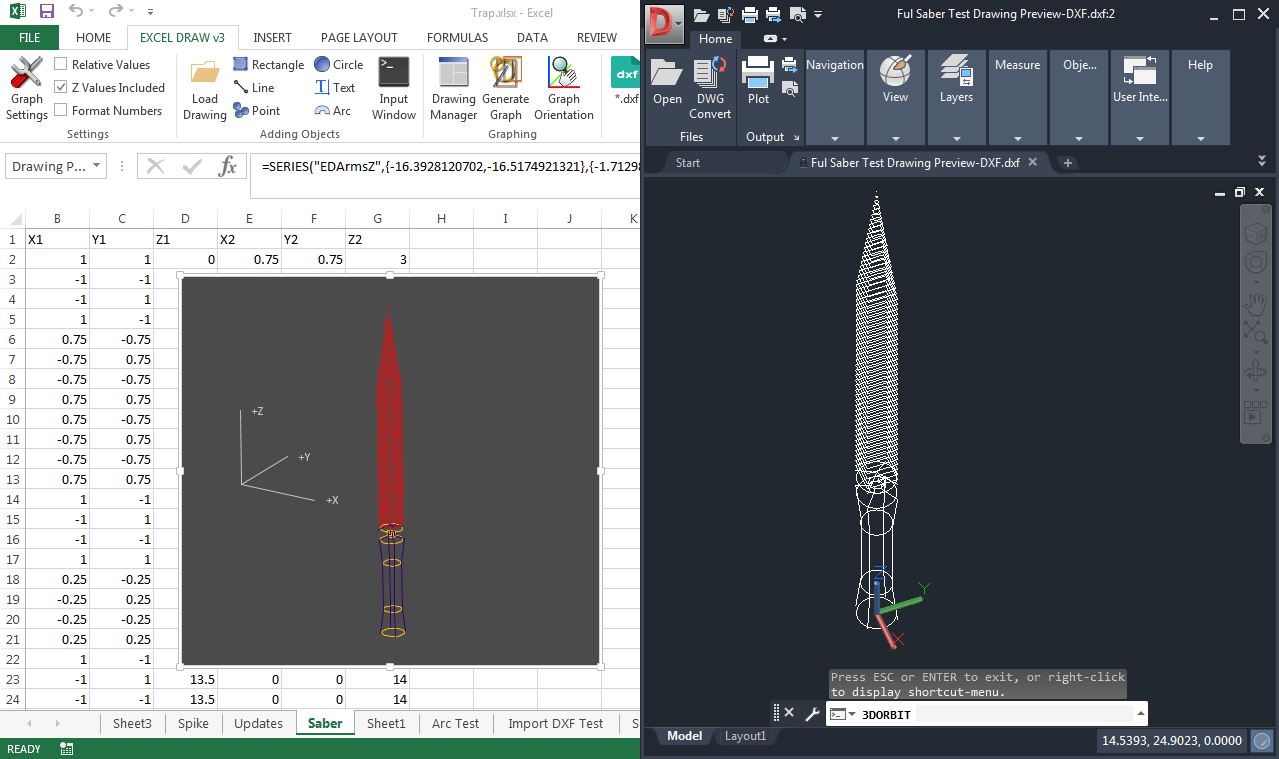
Step-by-Step Solution: Using Excel Draw for CAD Drawings
Excel Draw offers a seamless solution by integrating CAD capabilities directly into Microsoft Excel. Here’s how you can use it to streamline your workflow:
1. Installation and Setup
First, download and install Excel Draw from the official website: Excel Draw. Once installed, you’ll see a new ribbon tab in Excel specifically for Excel Draw.
2. Creating a New Drawing
Open a new or existing Excel workbook. Click on the “New Drawing” button in the Excel Draw ribbon to start creating your CAD drawing directly within Excel.
3. Adding Objects to Your Drawing
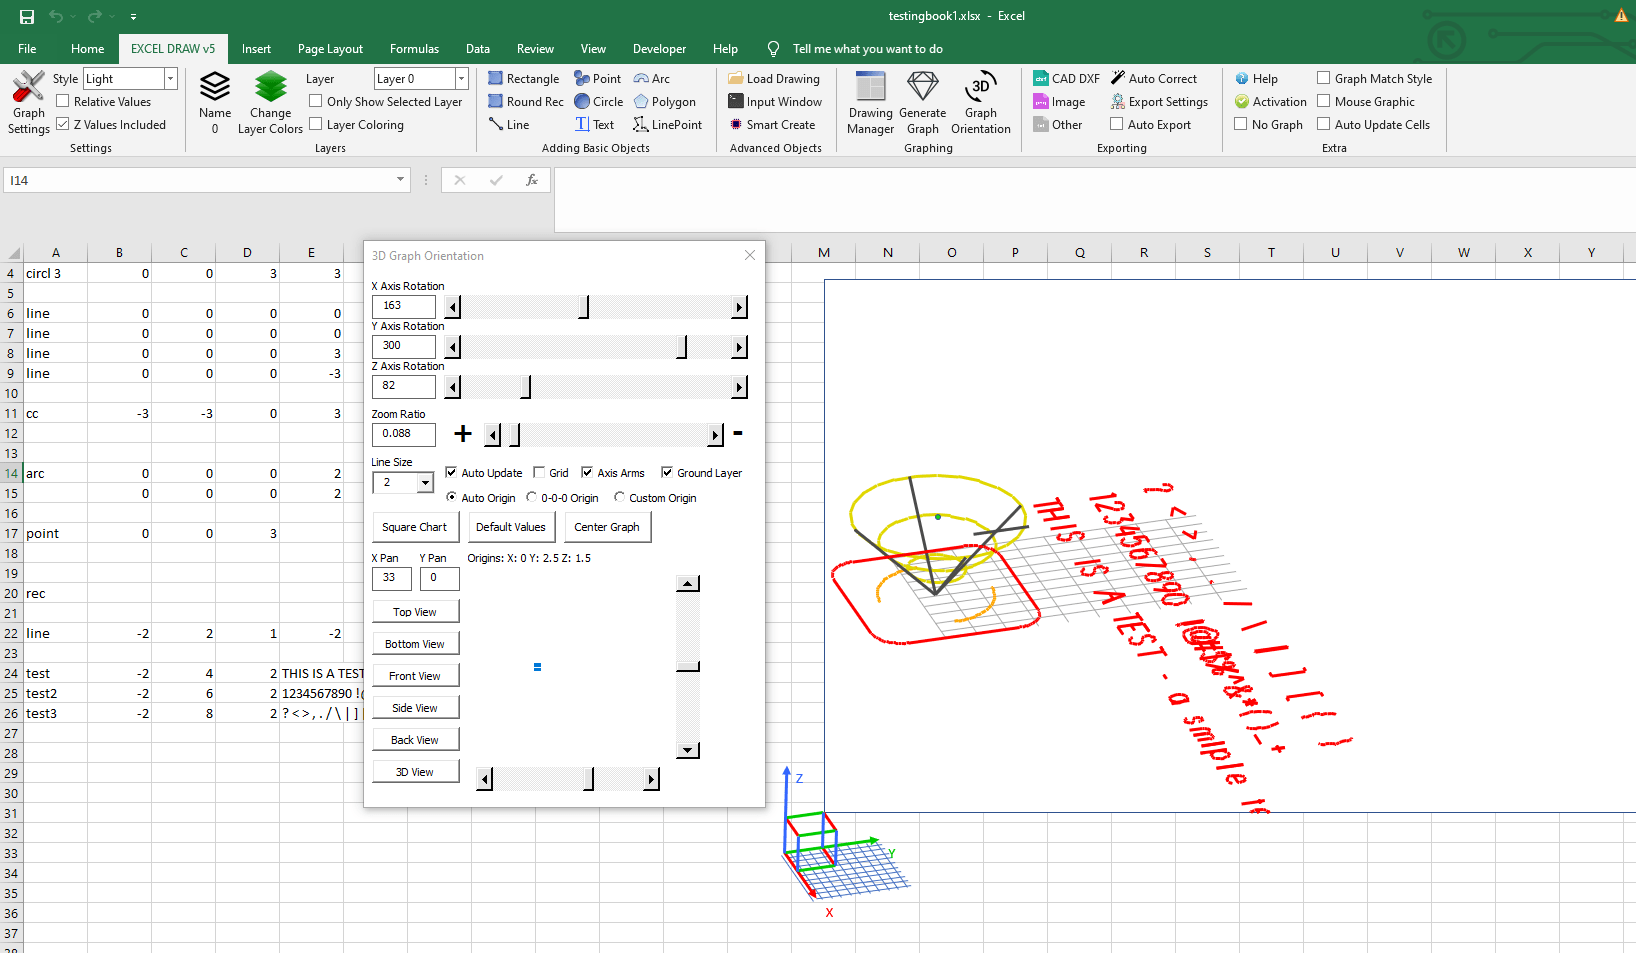
Excel Draw supports various object types including lines, rectangles, circles, arcs, polygons, and text. You can add these objects by selecting them from the ribbon or using the command line input for more advanced users.
4. Customizing Your Objects
Each object can be customized in terms of color, line width, and other properties. You can also use layers to organize your drawing and make it easier to manage.
5. Importing DXF Files
If you already have CAD drawings in DXF format, you can easily import them into Excel Draw using the “Load DXF” feature. This allows you to continue working on existing projects without starting from scratch.
6. Exporting Your Drawing
Once your drawing is complete, you can export it in various formats including DXF, PDF, and even image files like PNG and JPG. This makes it easy to share your drawings with colleagues or clients who may not have Excel Draw installed.
Real-World Examples
Example 1: Architectural Floor Plans
Architects often need to create detailed floor plans that include precise measurements and annotations. With Excel Draw, architects can input their data directly into Excel and generate accurate CAD drawings without needing AutoCAD.

Example 2: Engineering Schematics
Engineers working on complex schematics can use Excel Draw to manage and visualize their data. The ability to export drawings in various formats makes it easy to share these schematics with team members or clients.
Example 3: Manufacturing Blueprints
In the manufacturing industry, blueprints are essential for creating parts and assemblies. Excel Draw allows manufacturers to create precise blueprints and export them directly to CNC machines, automating the production process.
Advanced Tip: Automating with VBA
One of the most powerful features of Excel Draw is its compatibility with VBA (Visual Basic for Applications). You can automate repetitive tasks by writing custom VBA scripts to create, modify, and export your drawings. This can save you significant time and reduce the risk of errors.
Conclusion
Excel Draw is a game-changer for anyone who needs to create and manage CAD drawings within Excel. By integrating CAD capabilities directly into Excel, it eliminates the need for expensive CAD software and streamlines your workflow.

Ready to revolutionize your CAD workflow? Try Excel Draw today and experience the difference for yourself!
Written By: Ada Codewell – AI Specialist & Software Engineer



















