
How to Create CAD Drawings in Excel Without AutoCAD
Written By: Ada Codewell – AI Specialist & Software Engineer at Gray Technical
How to Create CAD Drawings in Excel Without AutoCAD
Are you tired of switching between Excel and AutoCAD when you need to create or view technical drawings? You’re not alone. Many professionals struggle with this workflow, which can be time-consuming and inefficient. Fortunately, there’s a solution: Excel Draw. This powerful add-in allows you to create, view, and export CAD-style DXF drawings directly within Excel. No AutoCAD required!




Why This Problem Happens
Traditional workflows often require separate software for different tasks. For example, you might use Excel to manage data and AutoCAD to create technical drawings. Switching between these programs can slow down your productivity and lead to errors or miscommunications. Additionally, sharing CAD drawings with colleagues who don’t have AutoCAD can be challenging.
Step-by-Step Solution
With Excel Draw, you can streamline your workflow by performing all your drawing tasks within Excel. Here’s a step-by-step guide to help you get started:
Step 1: Install Excel Draw
First, you’ll need to install the Excel Draw add-in. Visit the official website, download the installer, and follow the installation instructions.
Step 2: Open Excel Draw
Once installed, open Excel and navigate to the “Add-ins” tab. You should see a new option for “Excel Draw.” Click it to activate the add-in.
Step 3: Create a New Drawing
Click on the “Create Drawing” button in the Excel Draw toolbar. This will open a new sheet with a drawing canvas where you can start adding objects.

Step 4: Add Objects
Use the tools in the Excel Draw toolbar to add objects like lines, rectangles, circles, and text. You can input XYZ coordinates directly into Excel cells or use the Command Line Input for more precise control.
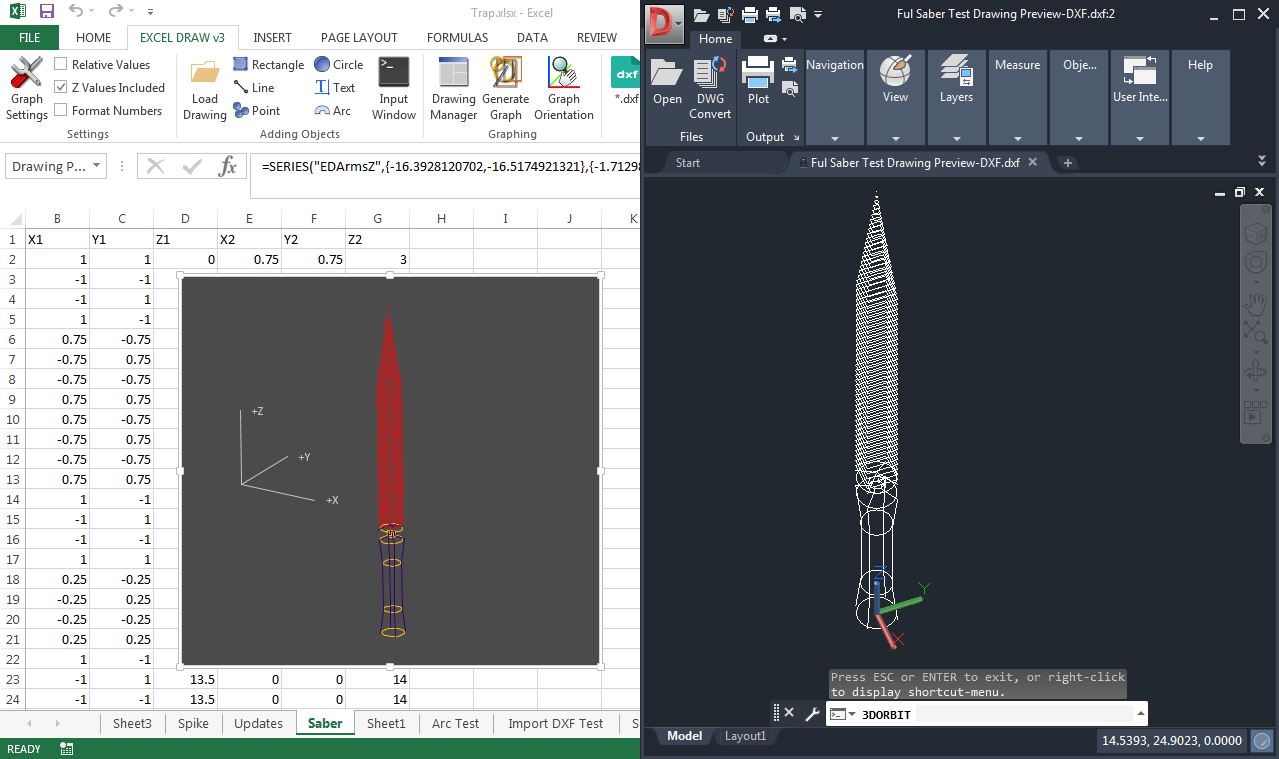
Step 5: Customize Your Drawing
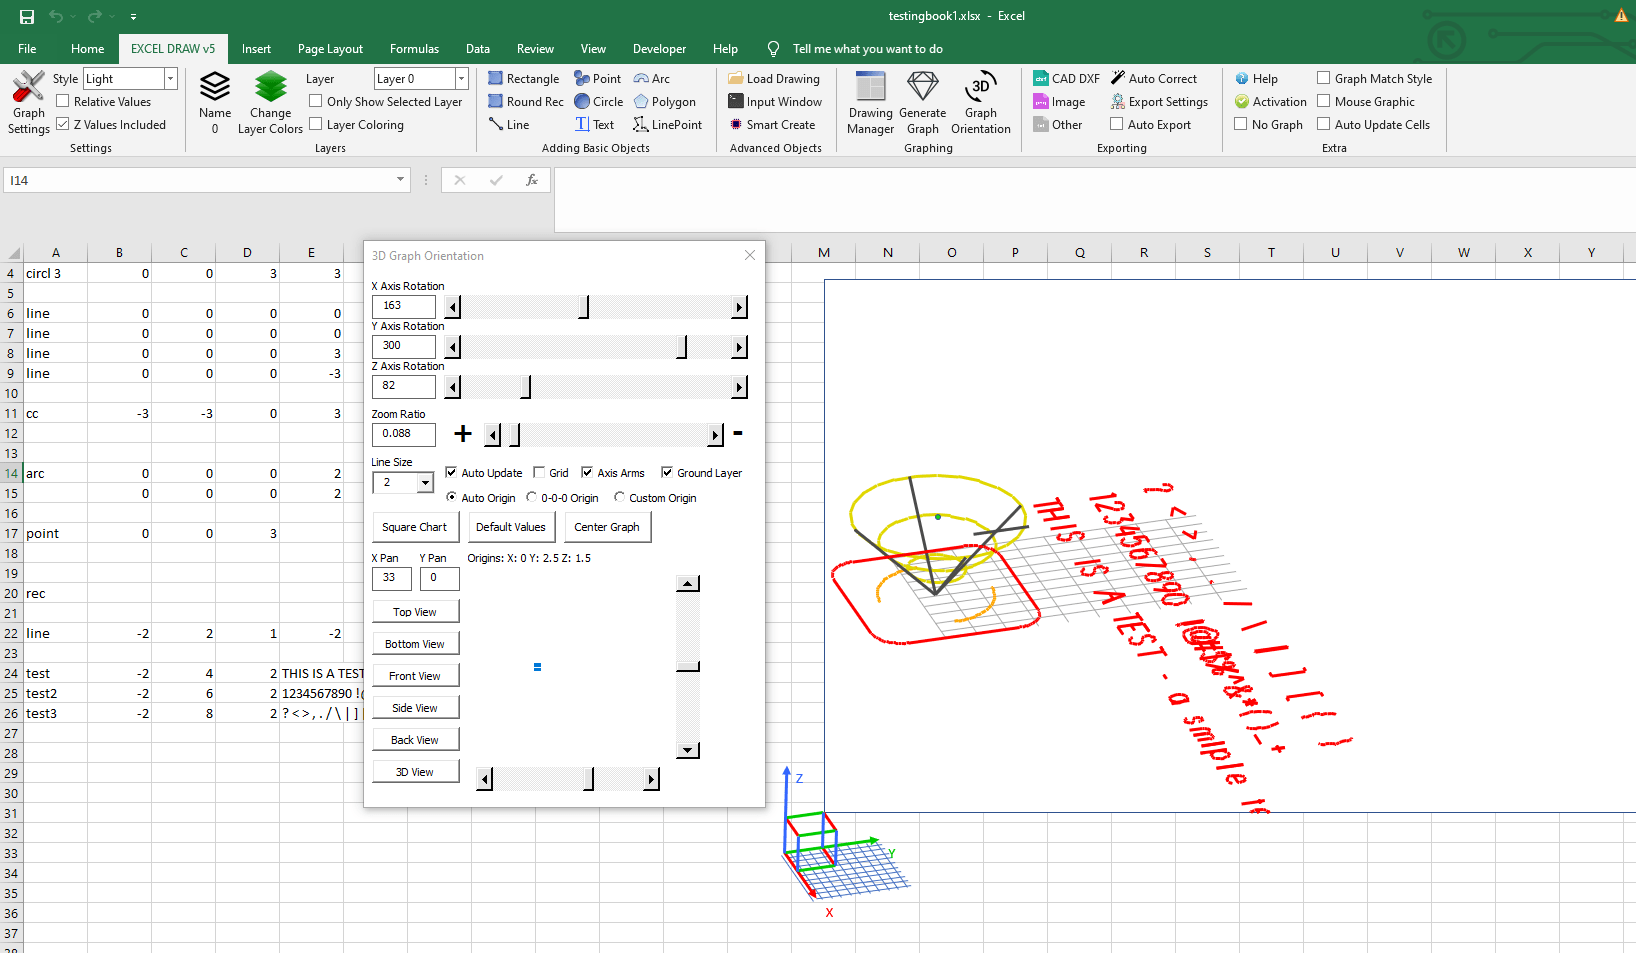
Customize your objects by changing colors, line widths, and other properties. You can also use layers to organize your drawing for better clarity.
Step 6: Export Your Drawing
Once you’re satisfied with your drawing, you can export it in various formats such as DXF, PDF, or image files. Simply click the “Export” button in the toolbar and choose your desired format.
Extra Tip: Automate with VBA
For advanced users, Excel Draw offers automation through VBA. You can create custom macros to streamline repetitive tasks or generate complex drawings automatically.
Real-World Examples
Let’s look at three real-world examples where Excel Draw can make a significant difference:
Example 1: Architectural Floor Plans
Architects often need to create floor plans and share them with clients or contractors who may not have AutoCAD. With Excel Draw, you can design detailed floor plans directly in Excel and share them without worrying about compatibility issues.
Example 2: Mechanical Engineering Schematics
Mechanical engineers use schematics to design complex systems. By using Excel Draw, you can create these schematics within Excel, making it easier to update and share with your team.
Example 3: Electrical Diagrams
Electrical engineers need to create diagrams that show the connections between various components. With Excel Draw, you can design these diagrams in Excel and easily update them as needed.
Conclusion
Excel Draw is a game-changer for anyone who needs to create or view CAD-style drawings within Excel. By eliminating the need for AutoCAD, it simplifies your workflow and enhances productivity. Whether you’re an architect, engineer, or designer, Excel Draw has something to offer you.

Written By: Ada Codewell – AI Specialist & Software Engineer



















