
Effortlessly Create CAD Drawings in Excel with Excel Draw
Written By: Ada Codewell – AI Specialist & Software Engineer at Gray Technical
Effortlessly Create CAD Drawings in Excel with Excel Draw
Are you tired of juggling between multiple software applications to create and manage CAD drawings? Do you wish there was a way to integrate your CAD work seamlessly within the familiar environment of Microsoft Excel? If so, you’re not alone. Many professionals struggle with the cumbersome process of switching between different software platforms to create technical and engineering drawings.
This is where Excel Draw comes to the rescue. Excel Draw is an innovative add-in for Microsoft Excel that allows you to create, view, and export CAD-style DXF drawing files directly within Excel. In this article, we’ll explore how Excel Draw can solve your CAD drawing challenges, provide real-world examples, and guide you through a step-by-step solution.




Why This Problem Happens
Professionals often need to create precise technical and engineering drawings for various purposes, such as architectural plans, mechanical designs, or schematic diagrams. Traditionally, this work requires specialized CAD software like AutoCAD. However, many users find it challenging to switch between Excel and CAD software, especially when they need to integrate data from spreadsheets into their drawings.
This switching back and forth not only wastes time but also increases the risk of errors. Moreover, sharing these drawings with colleagues or clients who don’t have access to specialized CAD software can be a significant hurdle. This is where Excel Draw stands out by offering a seamless solution that integrates CAD capabilities directly into Excel.
Step-by-Step Solution
Let’s walk through the process of creating a CAD drawing using Excel Draw step-by-step:
1. Installing Excel Draw
First, you need to install Excel Draw. The installation process is straightforward and similar to installing any other software add-in for Microsoft Excel.
2. Opening Excel Draw
Once installed, open Excel and you’ll see a new “Excel Draw” tab in the ribbon. Click on this tab to access all the tools and features of Excel Draw.

3. Creating a New Drawing
To create a new drawing, click on the “New Drawing” button in the Excel Draw tab. This will open a new sheet where you can start creating your CAD drawing.
4. Adding Objects to Your Drawing
Excel Draw supports various shapes and objects such as lines, rectangles, circles, arcs, polygons, and text. To add an object, select the desired shape from the “Shapes” dropdown menu and then click on the drawing area to place it.
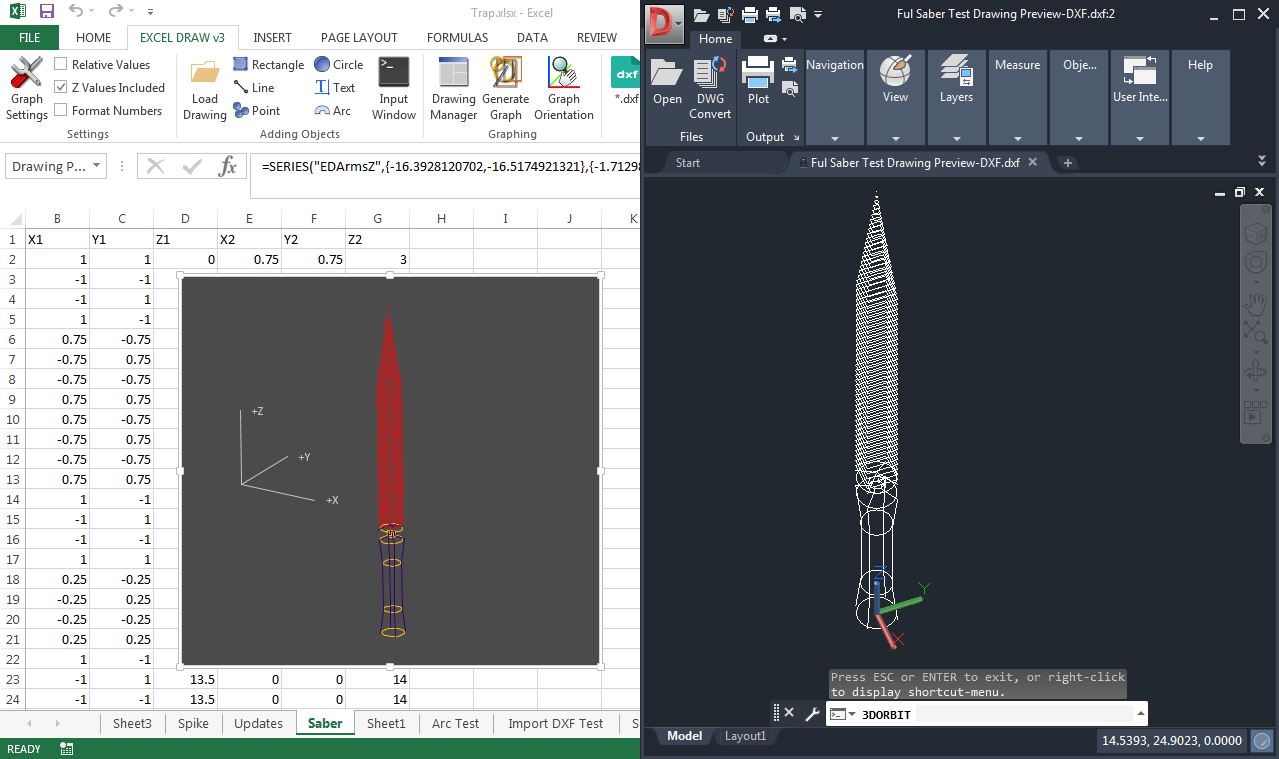
5. Customizing Objects
You can customize each object by changing its color, line width, and other properties. Select the object you want to modify and use the options in the “Format” tab to make your changes.
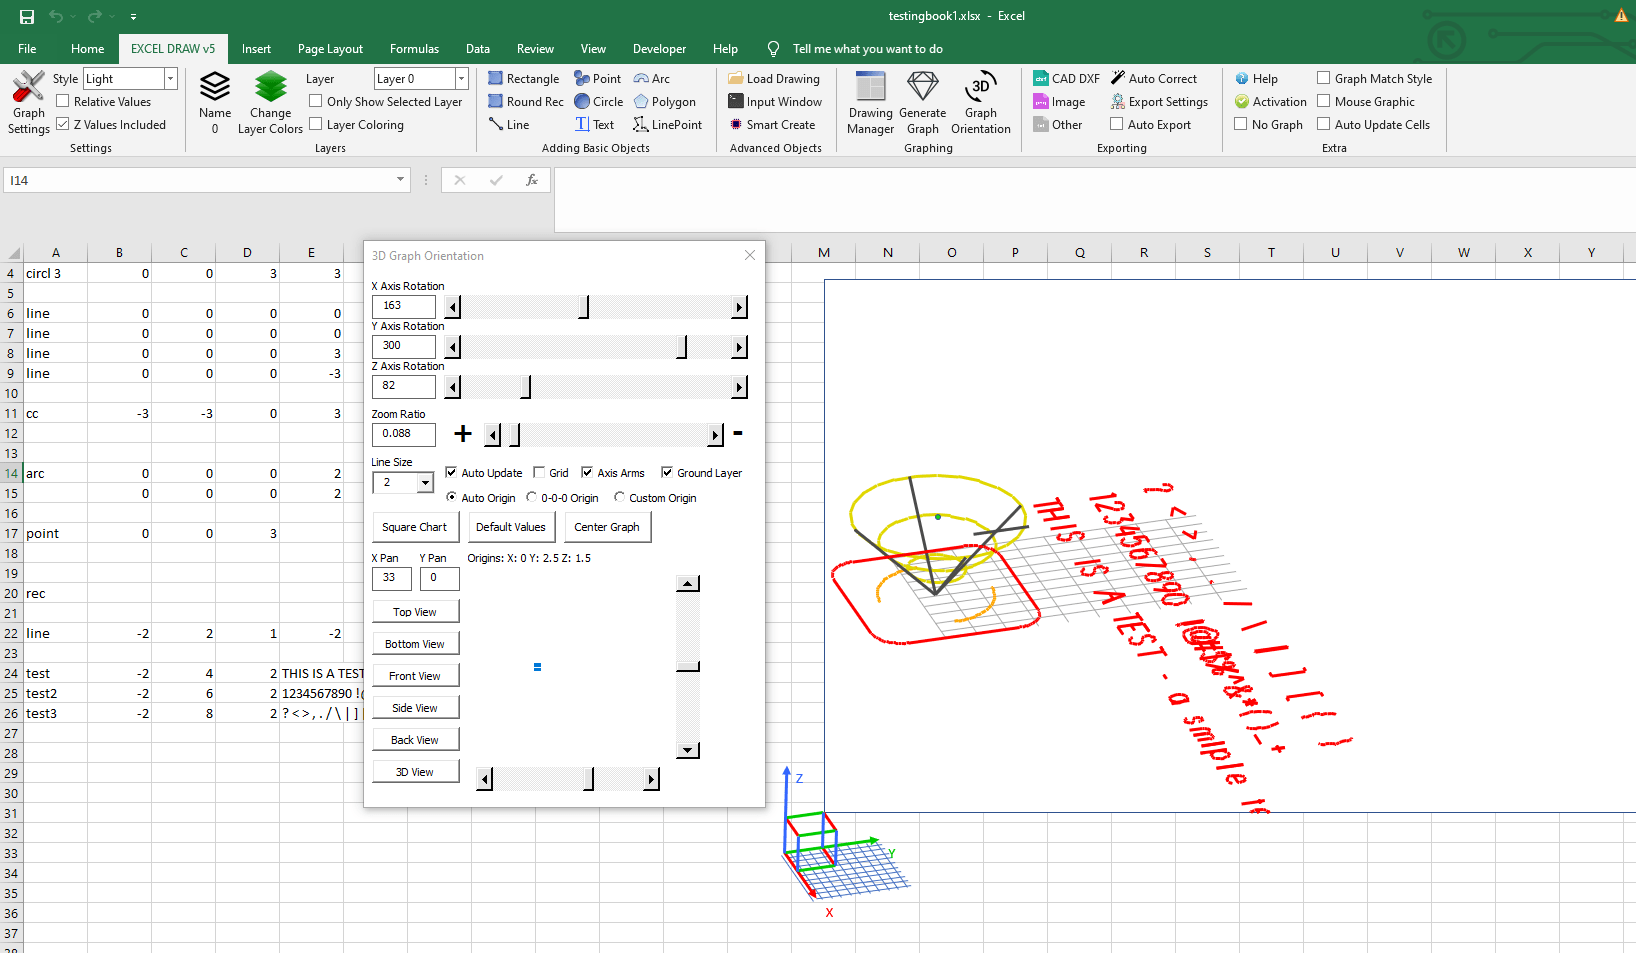
6. Using the Command Line Input
For users familiar with CAD input dialogs, Excel Draw also includes a Command Line Window Input. This allows you to quickly input data using commands similar to those in traditional CAD software.

7. Exporting Your Drawing
Once you’ve completed your drawing, you can export it in various formats such as DXF, PDF, PNG, JPG, and more. Simply click on the “Export” button and select the desired format.
Real-World Examples
Example 1: Architectural Floor Plan
Imagine you’re an architect working on a floor plan for a new building. You can use Excel Draw to create a detailed floor plan directly in Excel, including walls, doors, windows, and other architectural elements. This allows you to easily integrate your drawing with other data, such as cost estimates or material lists, all within the same spreadsheet.
Example 2: Mechanical Engineering Design
As a mechanical engineer, you might need to create schematics for a machine or system. With Excel Draw, you can design complex mechanical drawings with precision and then share them with colleagues or clients who may not have access to CAD software.
Example 3: Electrical Schematics
For electrical engineers, creating circuit diagrams and schematics is a common task. Excel Draw allows you to draw these diagrams directly in Excel, making it easier to update and share them with your team.
Extra Tip: Automating with VBA
One of the most powerful features of Excel Draw is its ability to automate tasks using VBA (Visual Basic for Applications). You can create custom macros to automate repetitive tasks, such as generating drawings from data or exporting multiple drawings at once. This can significantly speed up your workflow and reduce errors.
Conclusion
Excel Draw offers a unique solution for professionals who need to create and manage CAD drawings within the familiar environment of Microsoft Excel. By integrating CAD capabilities directly into Excel, you can save time, reduce errors, and easily share your drawings with colleagues and clients. Whether you’re an architect, engineer, or designer, Excel Draw provides the tools you need to create precise and professional technical drawings.
Ready to streamline your CAD drawing process? Give Excel Draw a try today and experience the difference for yourself!
Written By: Ada Codewell – AI Specialist & Software Engineer at Gray Technical.



















